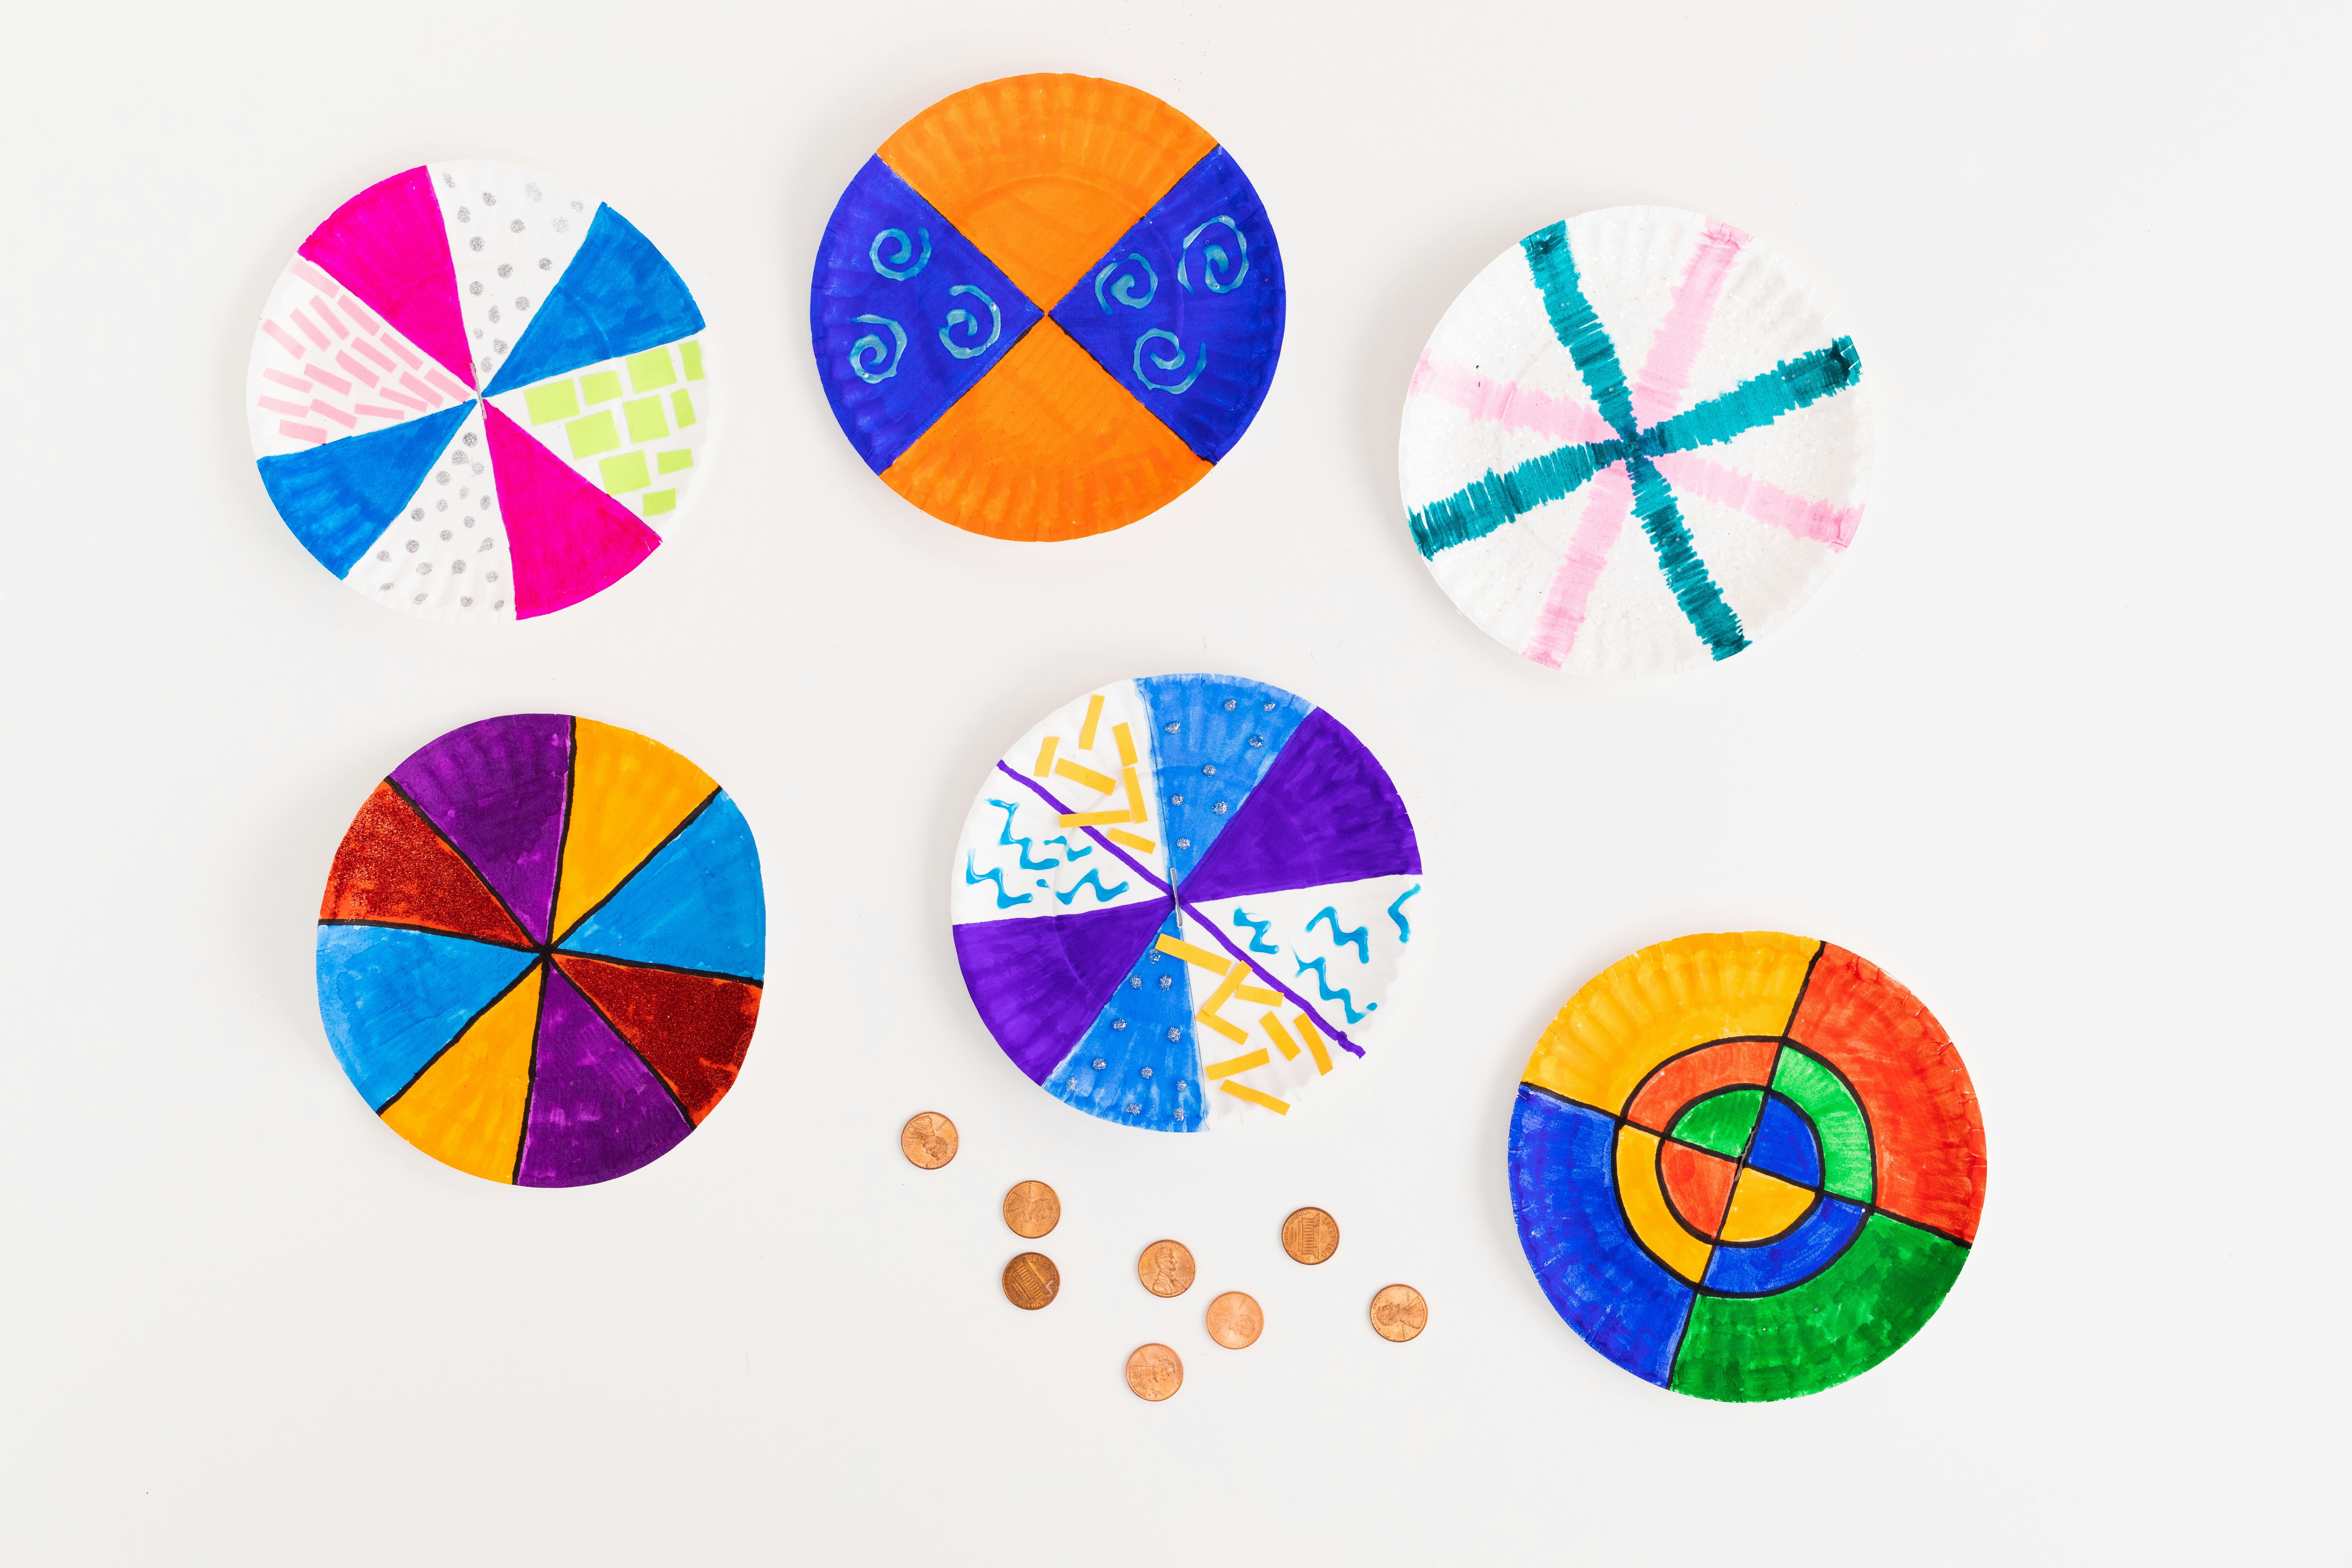
Penny Spinner
Penny Spinner
School Year: 4–6
Activity Time: 15–30 minutes (plus 1–2 hours of drying time)
STEAM Subject(s): Maths (Geometry), Art, Science (Physics)
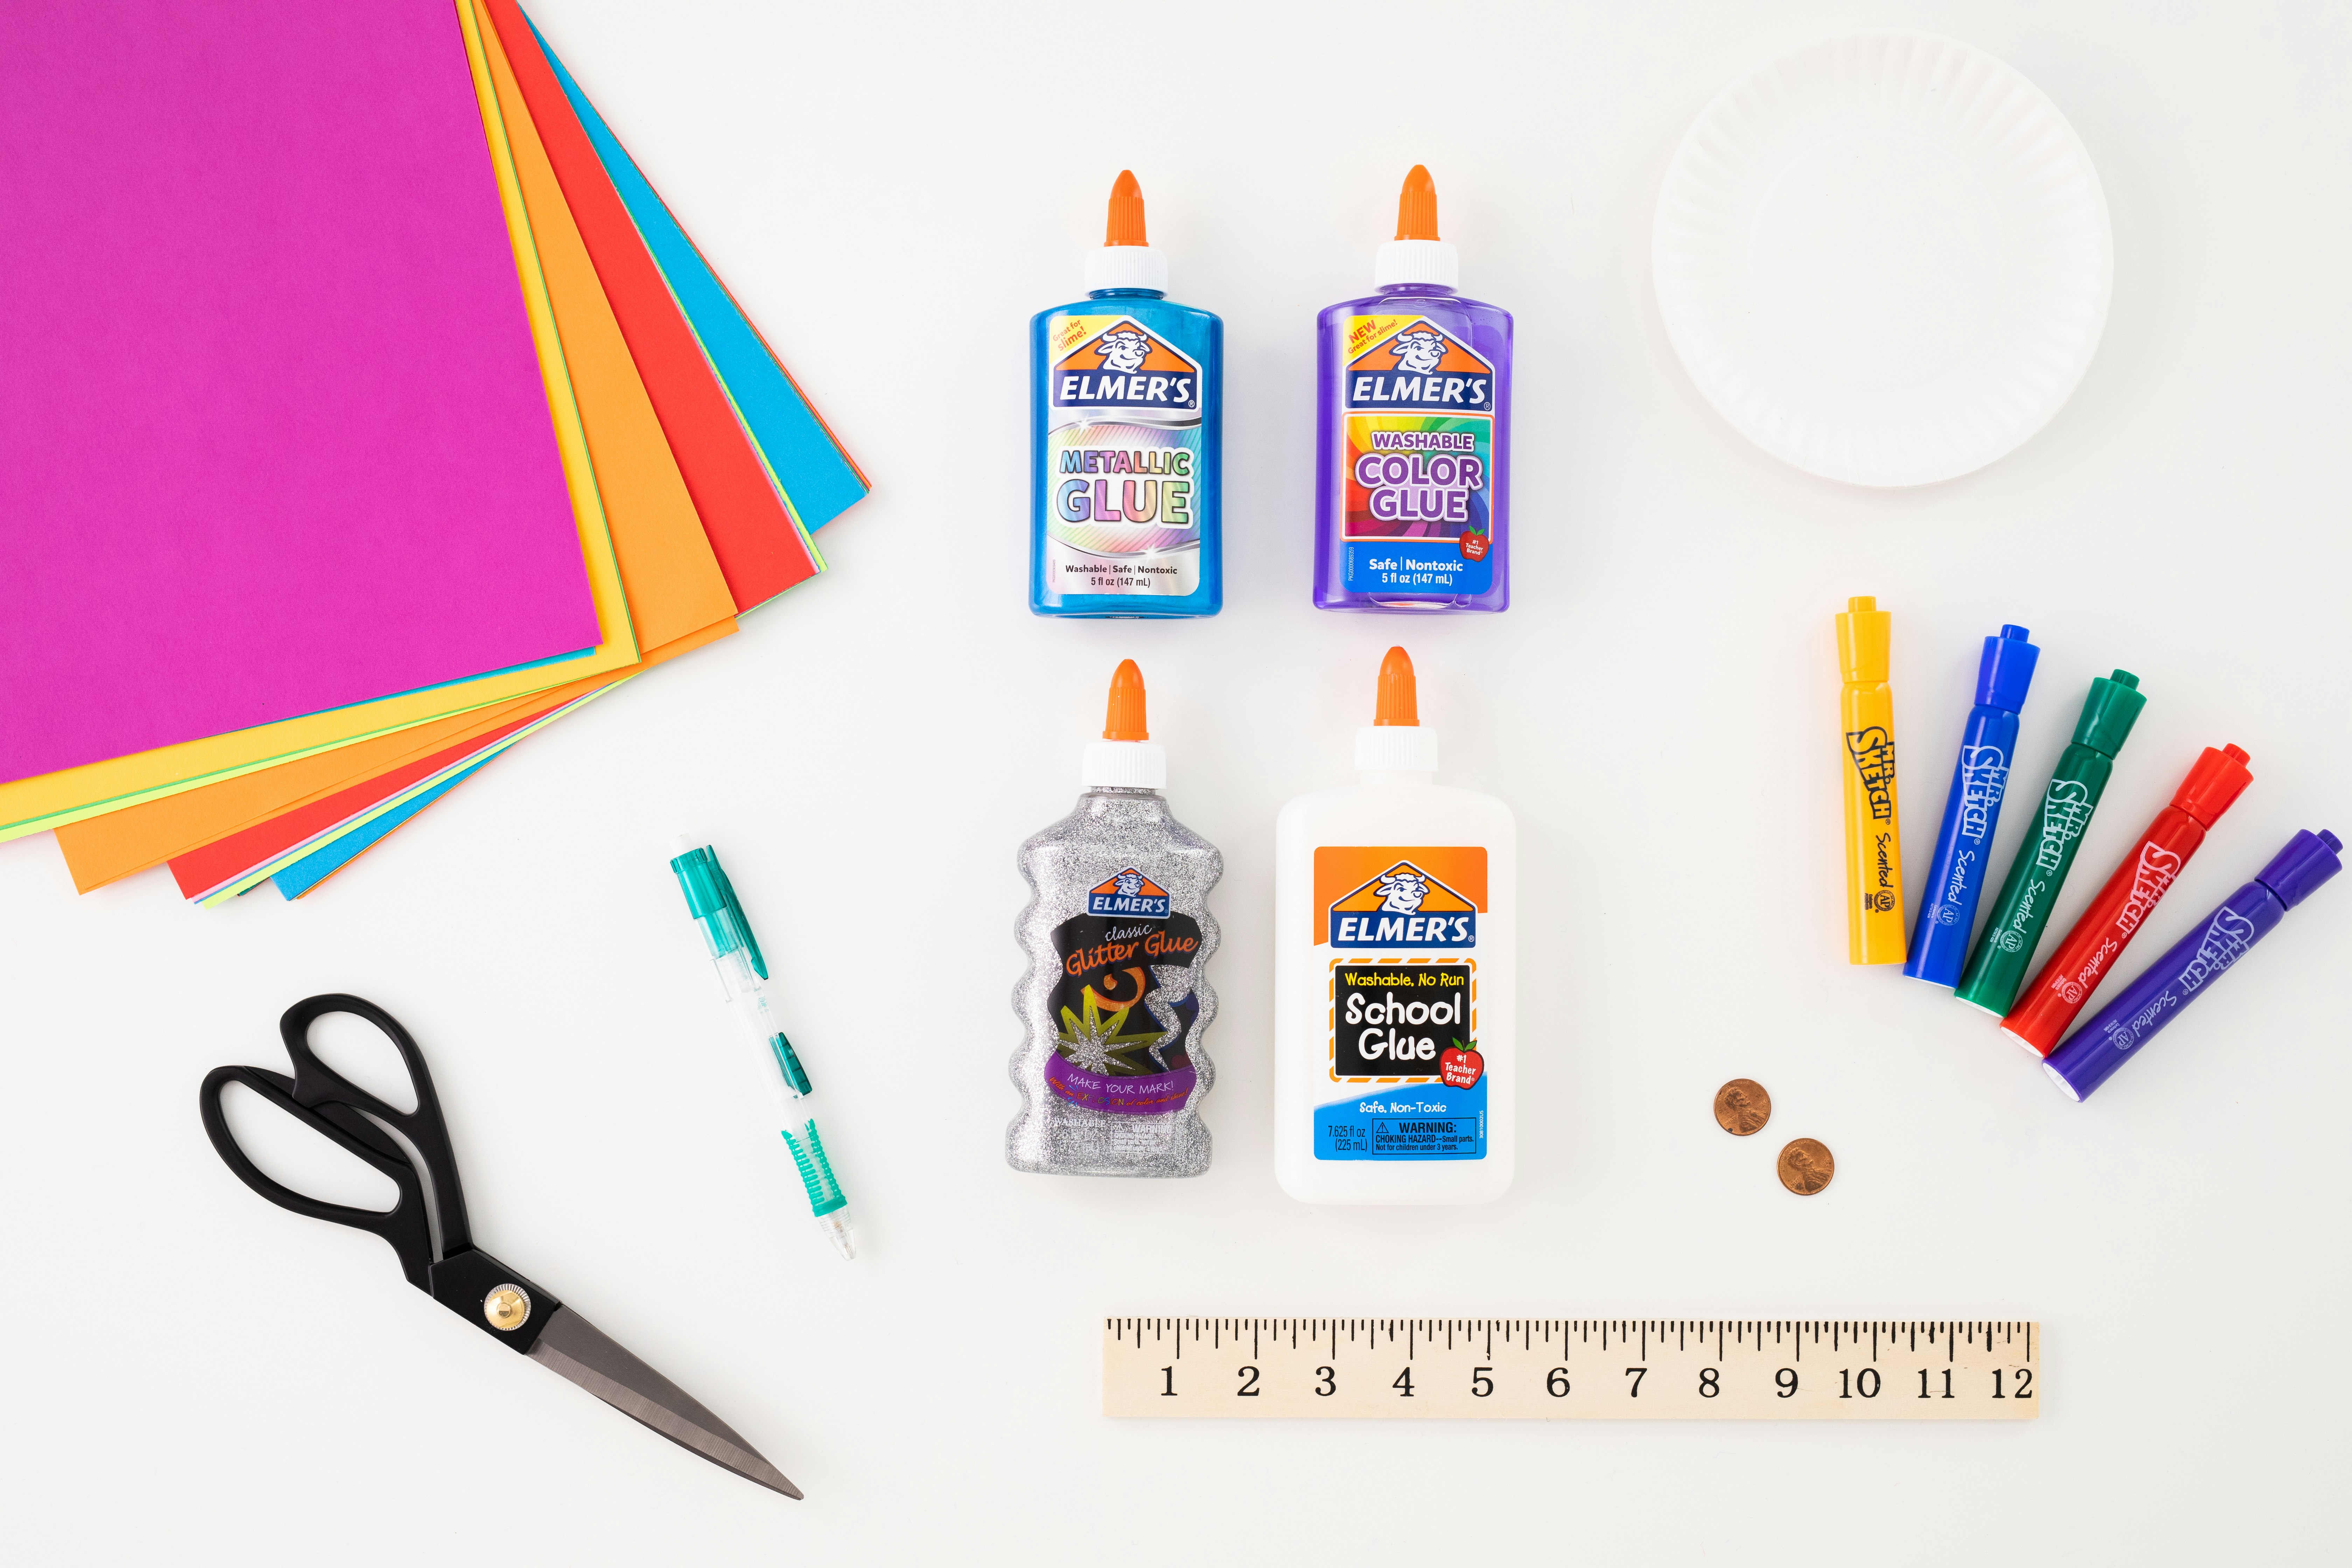
Supplies:
- Small white paper plates
- Markers
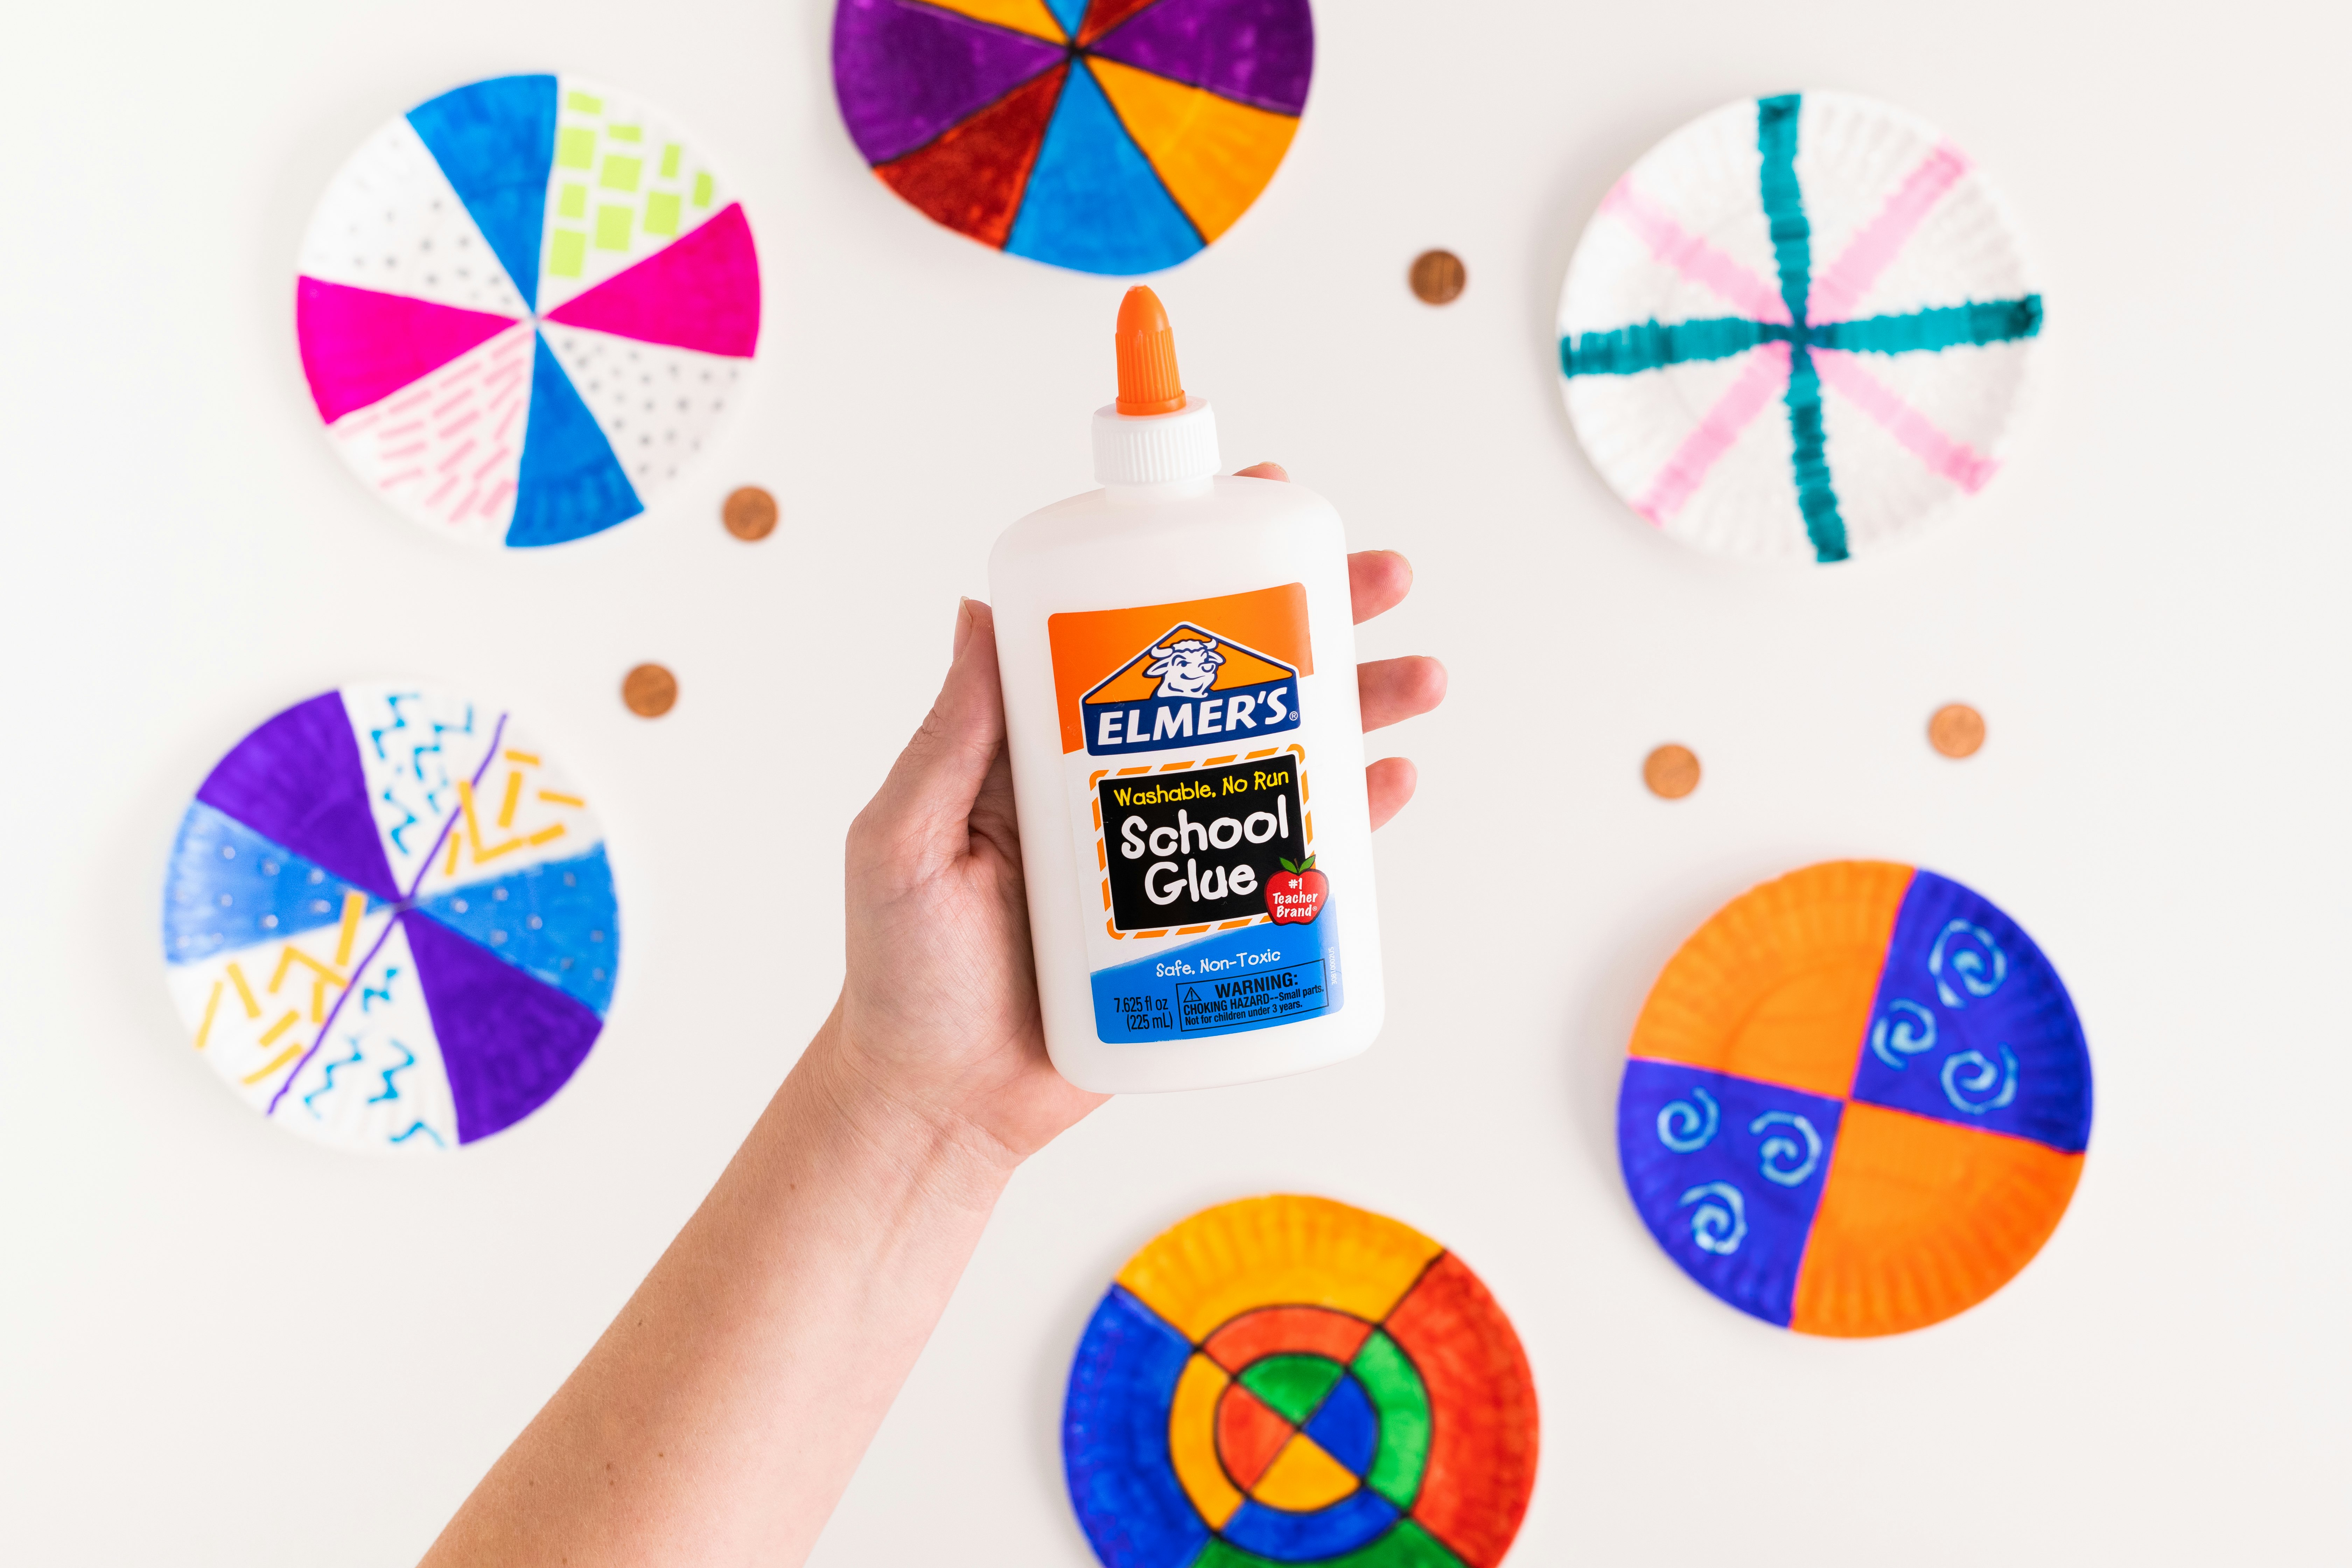
- Elmer’s White School Glue
- Construction paper
- Scissors
- A penny
- A ruler
- A pencil
Instructions:
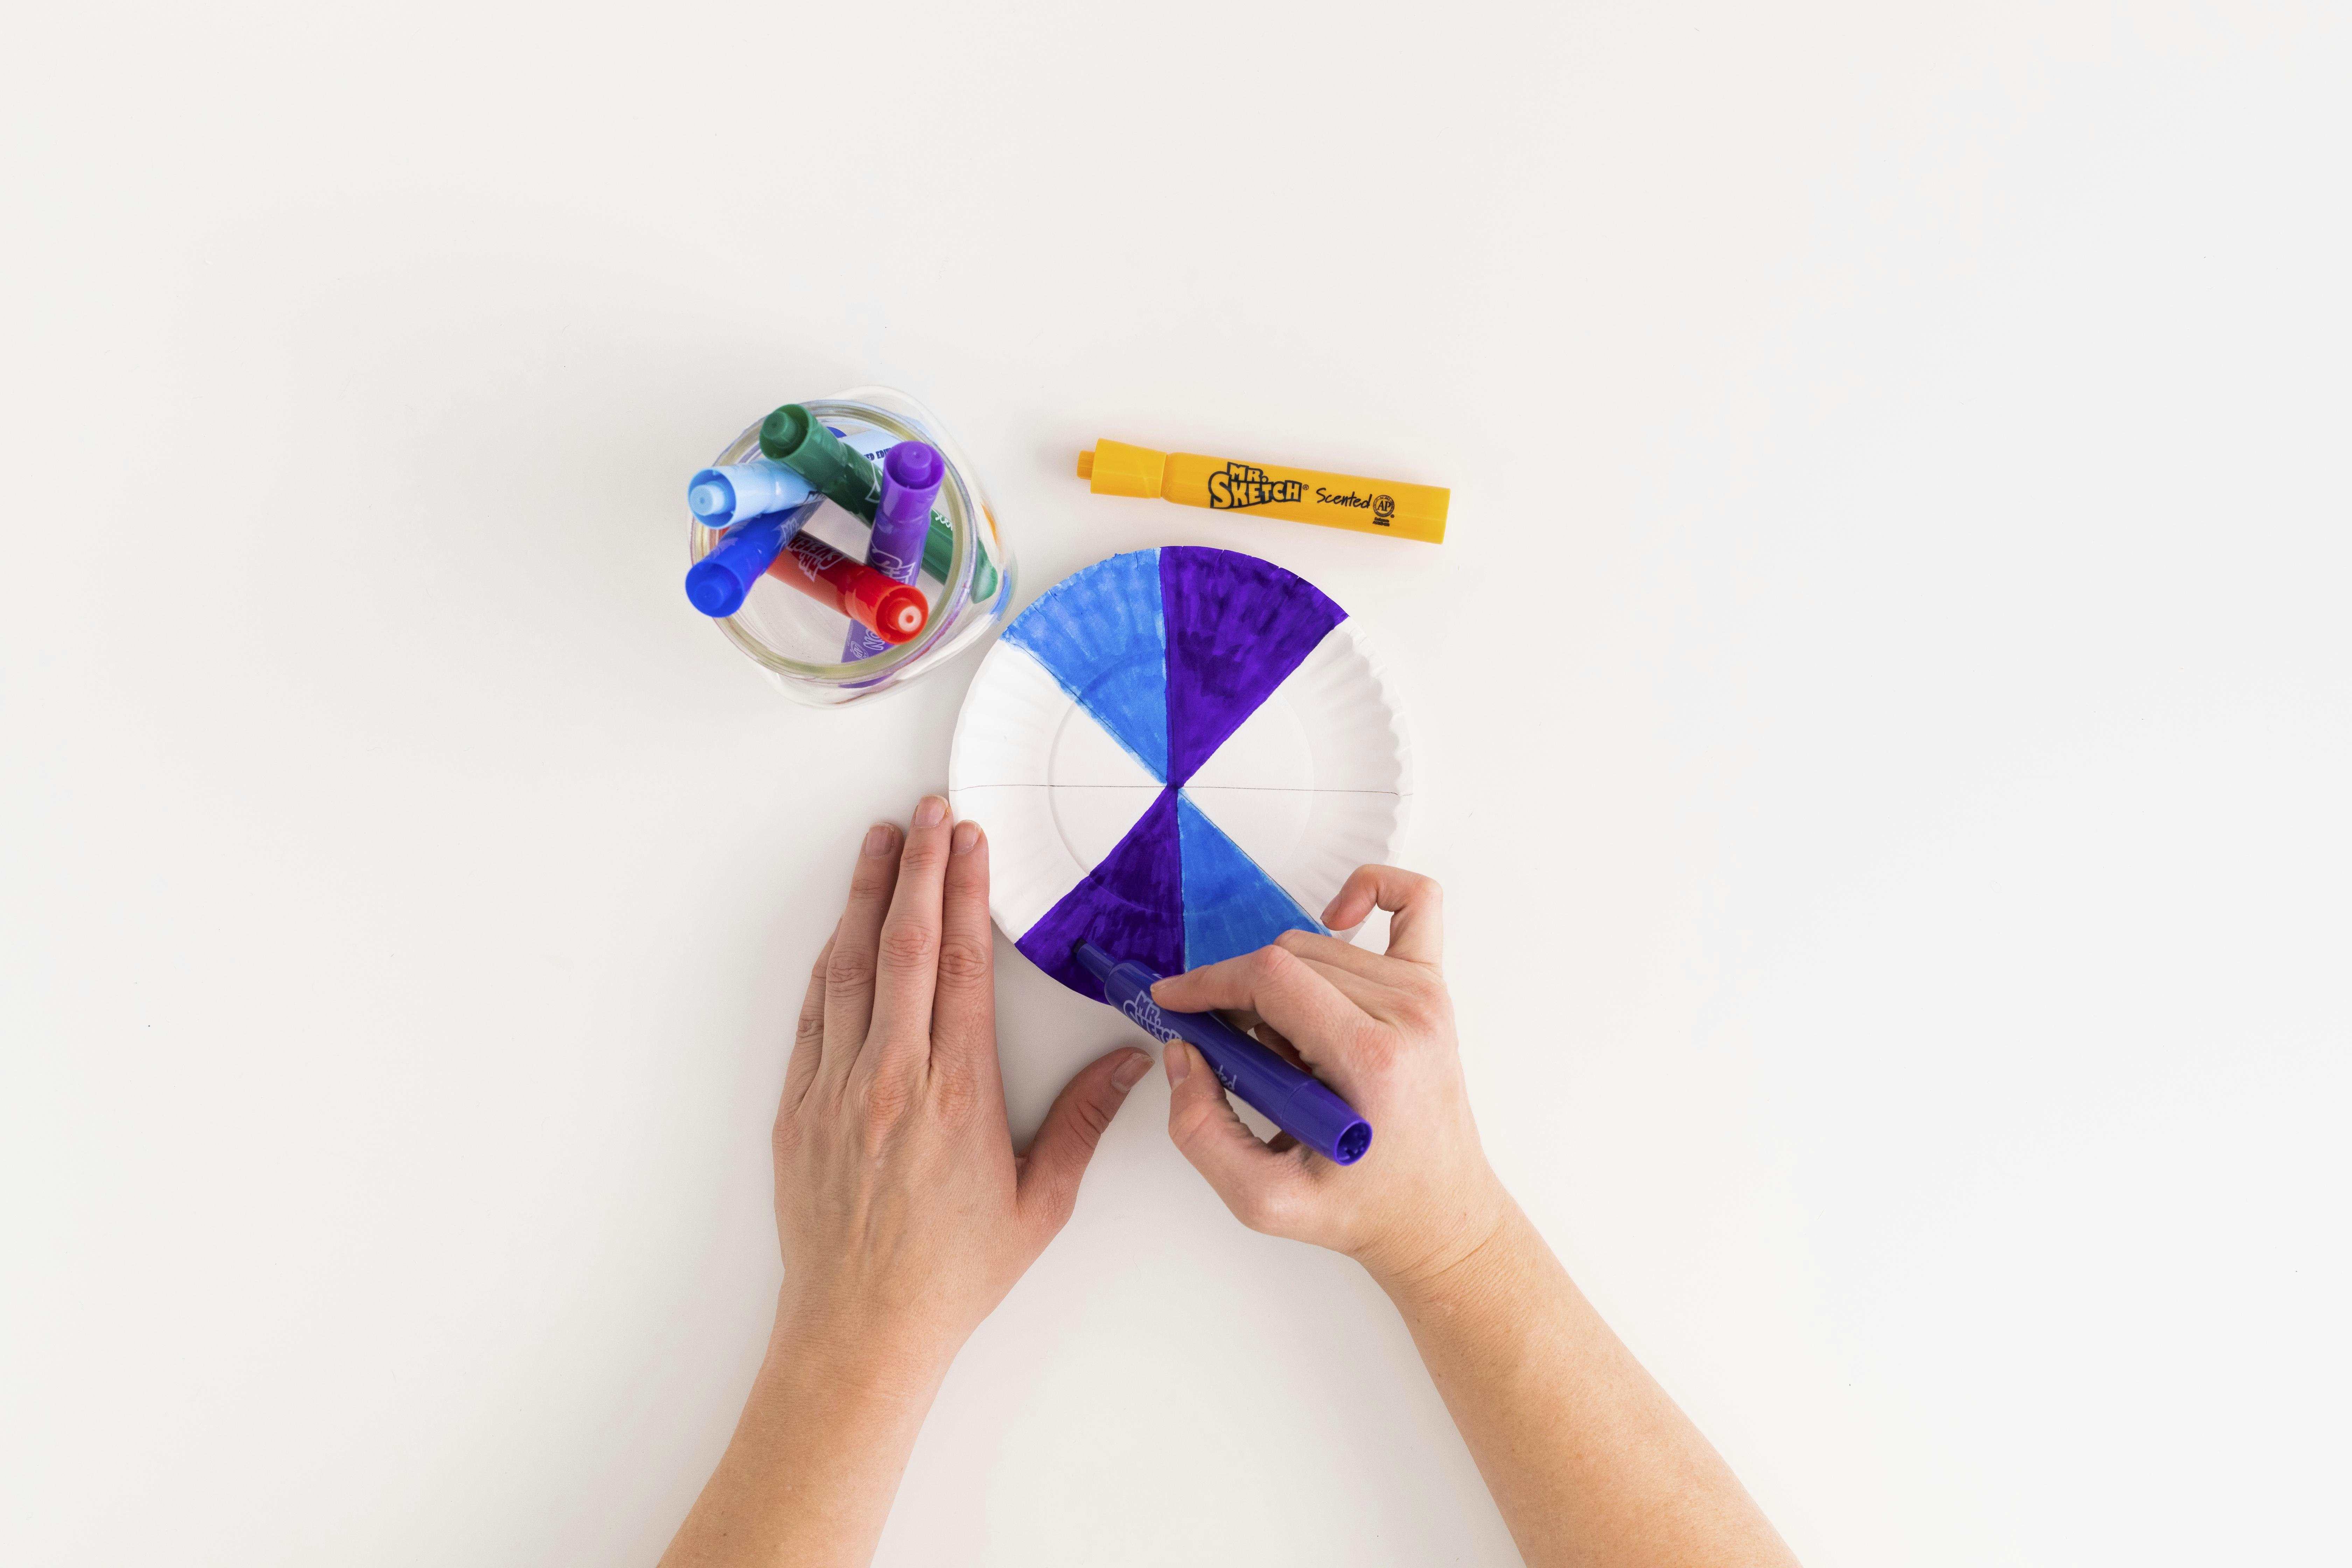
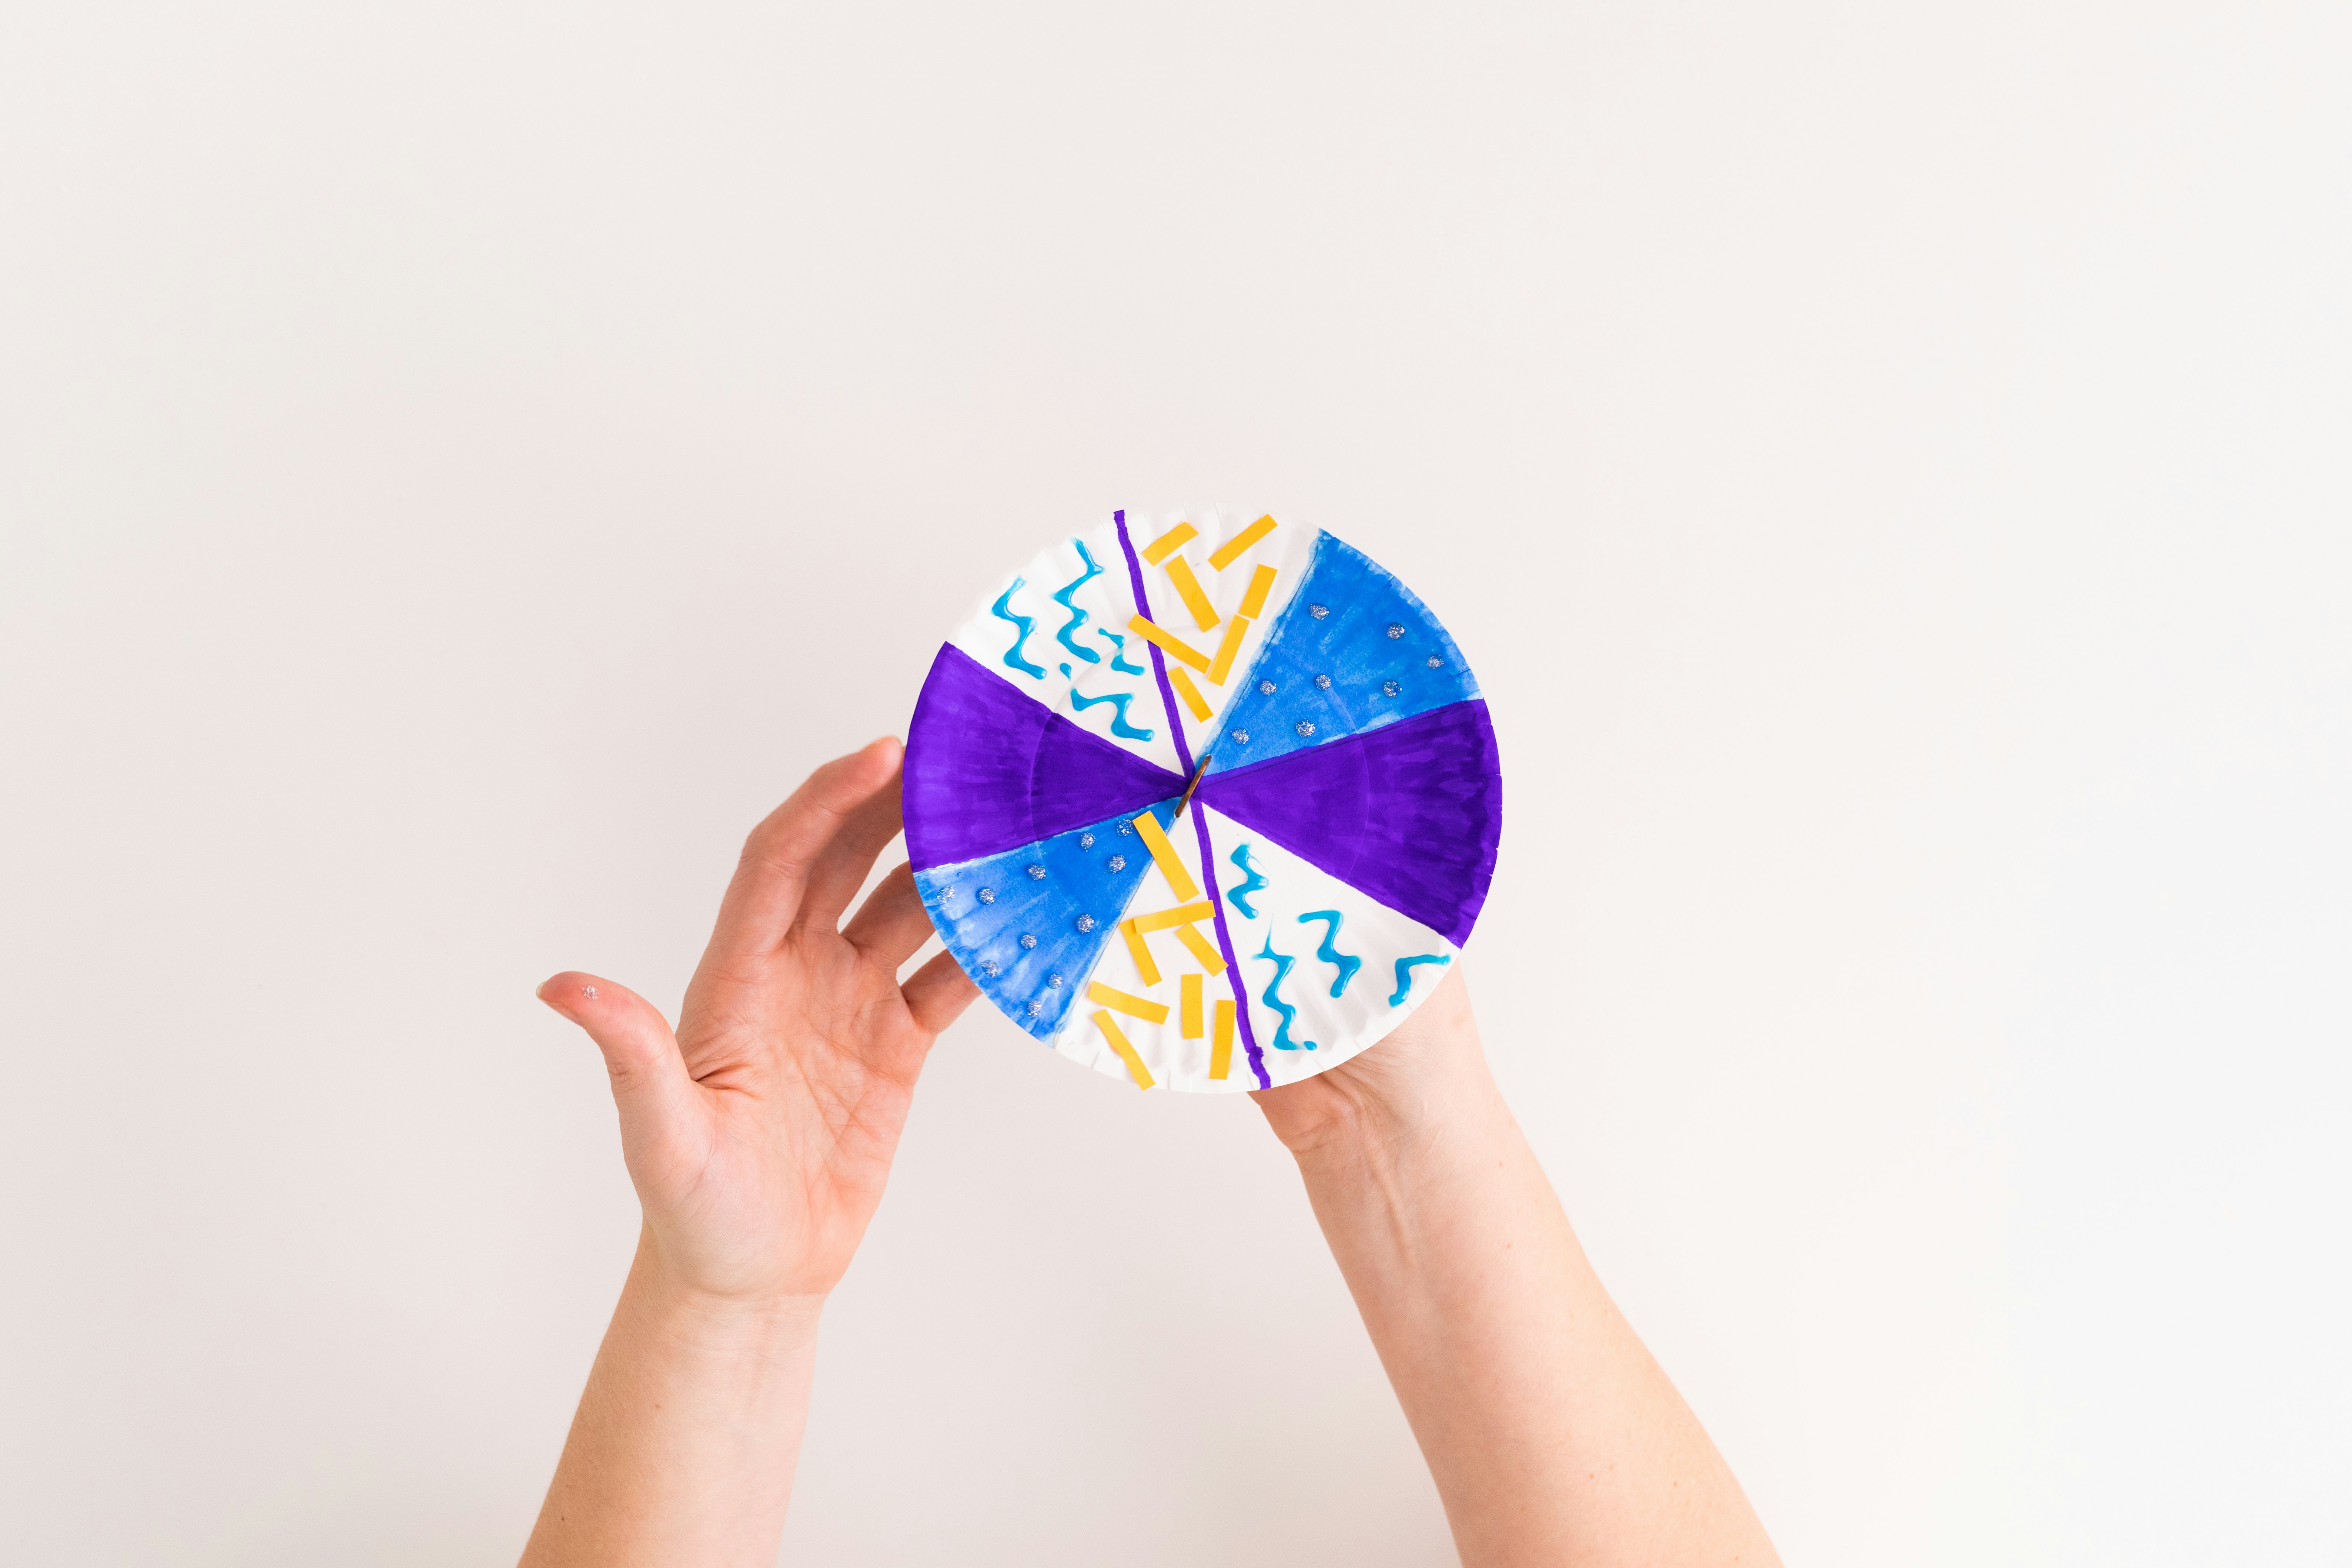
- Find the centre of the plate. Then divide the plate into quadrants, like a pie. Then, decorate each quadrant. Penny spinners look best when the decorations are done with lots of bold colours. A few decoration ideas:
- Use Mr Sketch markers to create deep, dark colours.
- Cut small scraps of construction paper and glue them into the quadrants.
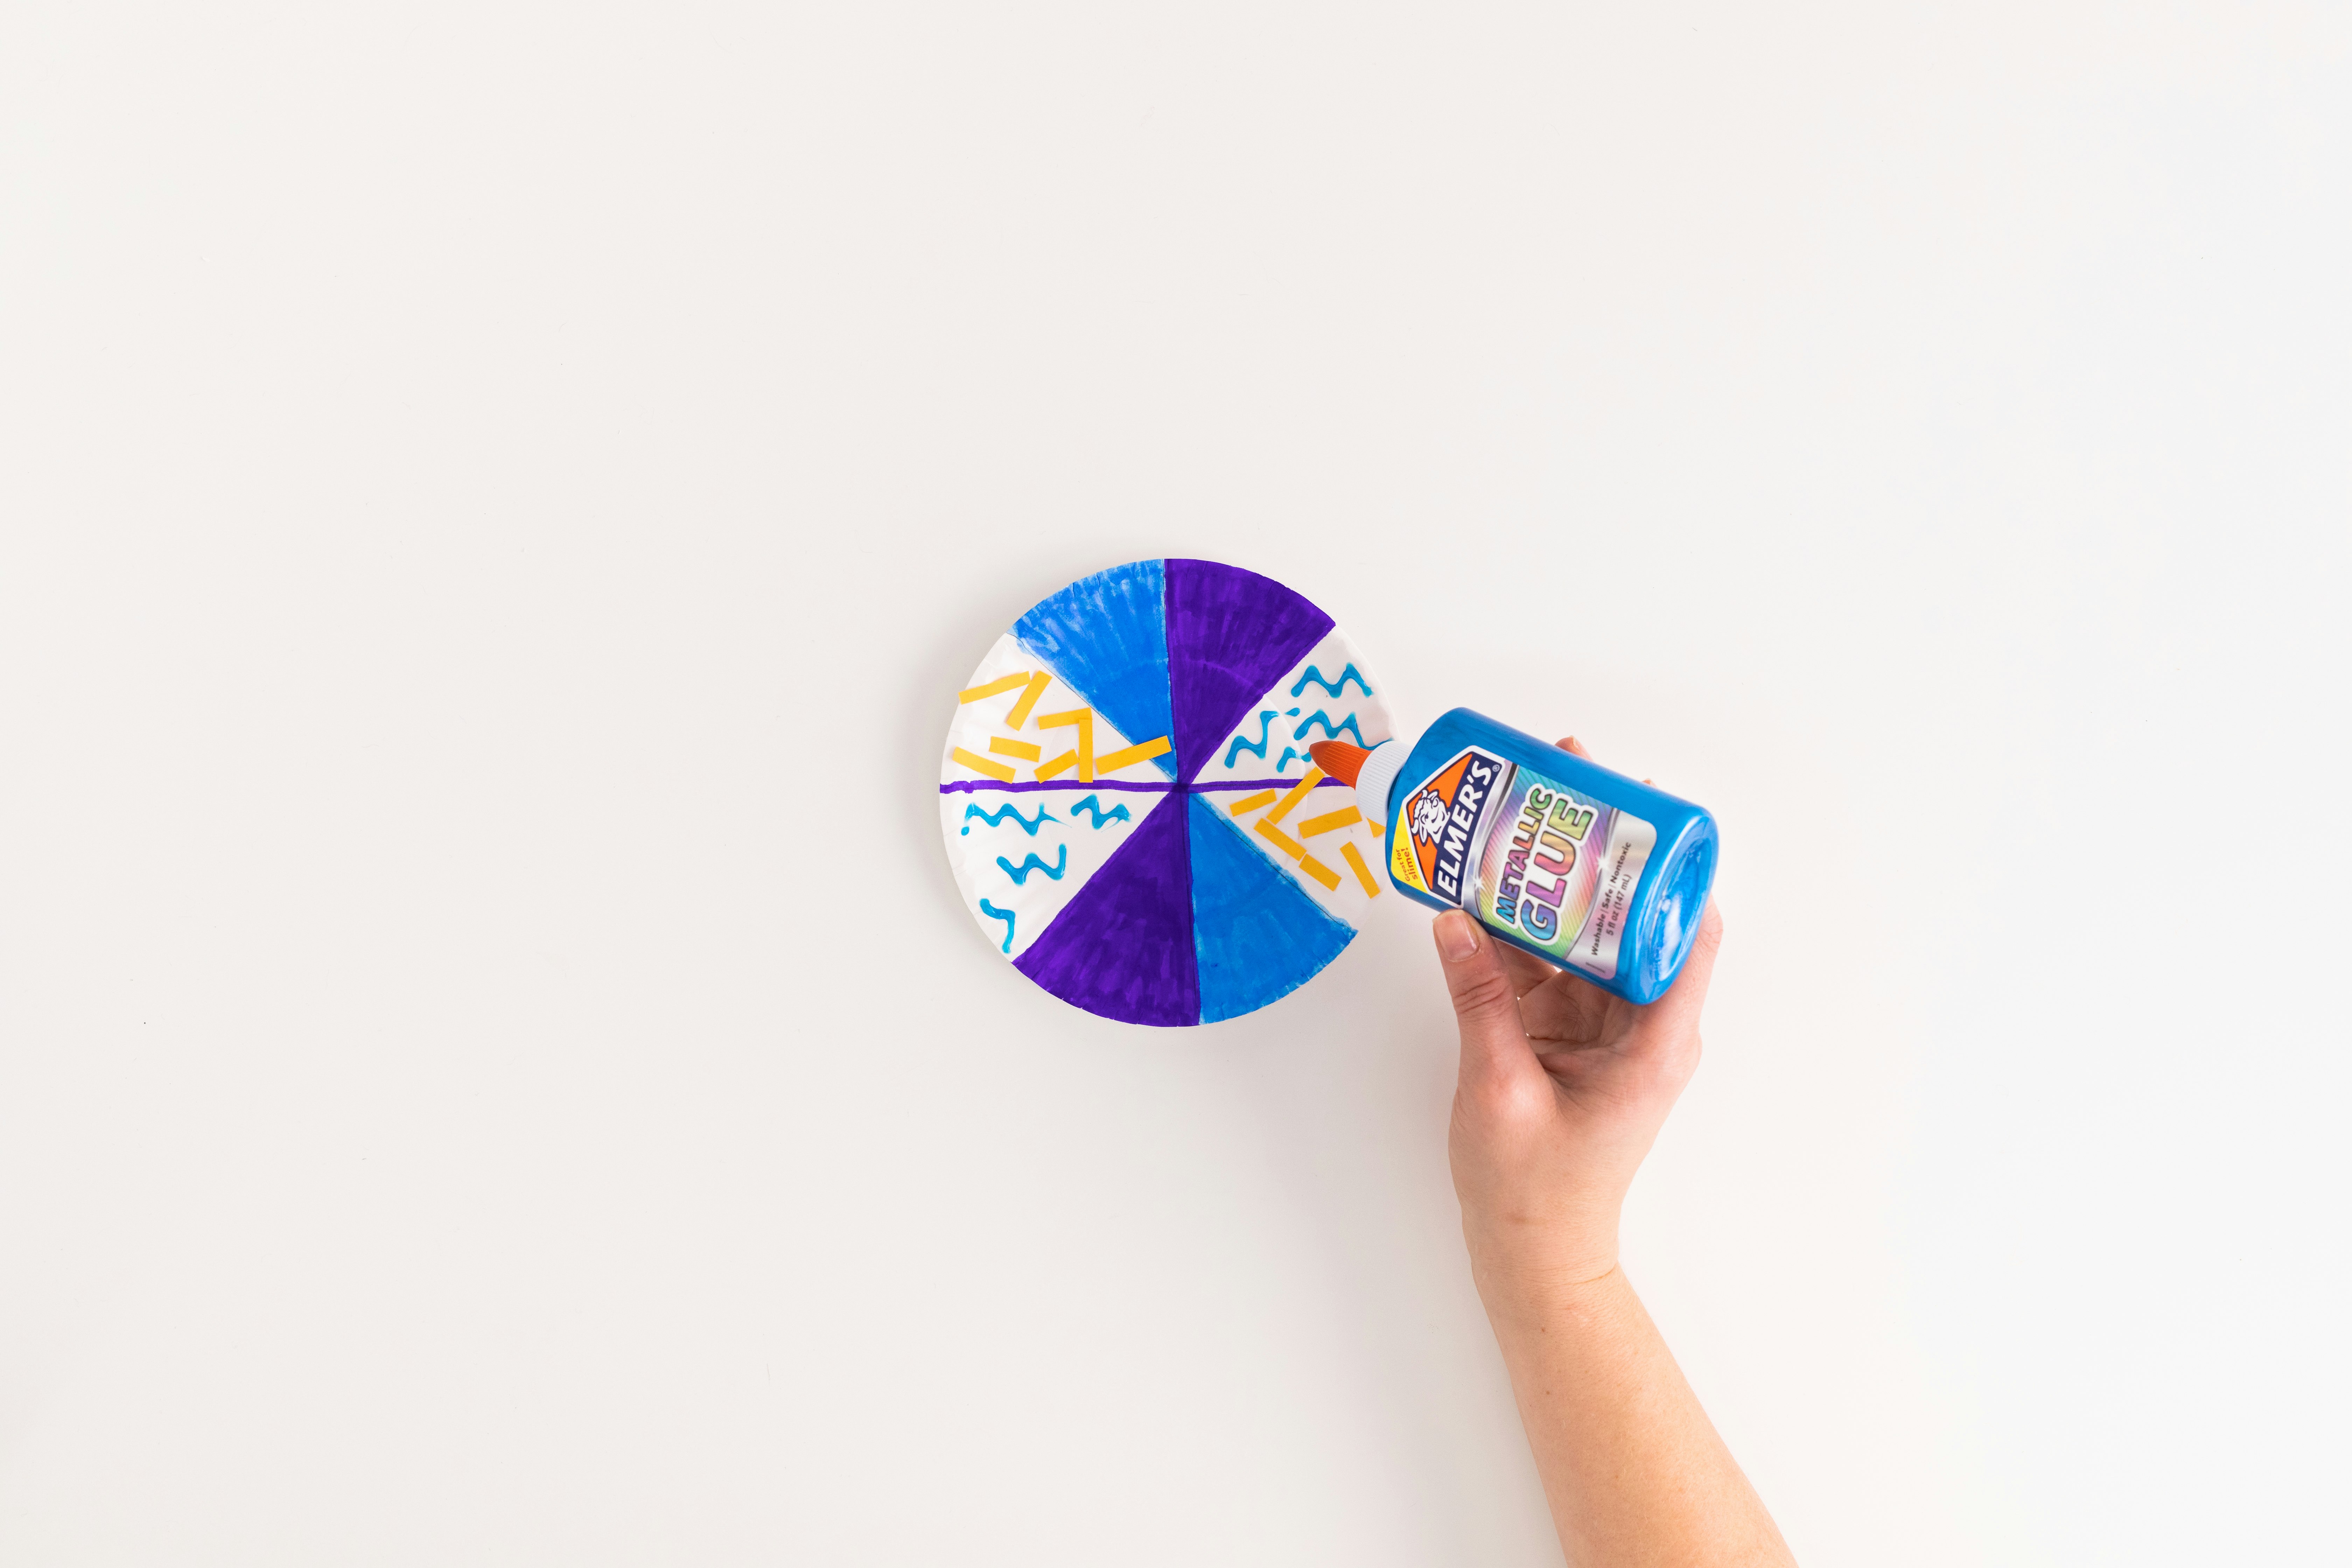
- Once you are done decorating, your plate is ready to start spinning! Have an adult help you cut a slit that is just a bit smaller than a penny in the centre of the plate. Push the penny through the centre slit so that about half the penny sticks out on each side. Add a small dot of Elmer’s White School Glue to hold the penny in place. Let it dry.
- Once your glue is dry, set the spinner down and spin away!

Learn More – STEAM Extensions:
- Spinning tops are some of the oldest toys! Originally, they were made out of wood. A string or piece of rope would be used to help the top start to spin. One thing that all spinning toys have in common is that they are circular. Have you ever wondered why? Experiment: Get a square paper plate or piece of cardstock and make a penny spinner using the same methodology. Try spinning it. Does it work as well as the round plate did? It probably doesn’t because the corners of the square create resistance, and the spinner isn’t able to spin as quickly.
- Penny spinner contest! Make penny spinners out of plates of different sizes. Then get some friends to help you spin them all at once. Which size plate spins the fastest? Then, set a timer and see which size plate spins the longest.
- Find the centre of the circle. There are lots of methods for finding the centre of a circle, but this one is both fun and easy. Draw a chord across the circle. A chord is a straight line that’s drawn near the edge of the circle but doesn’t cross the centre. Once you have one chord, draw two more chords in any place on the circle that are the exact same length as your first chord. Now you should have three chords. Draw a dot on the exact middle of each chord. Then use the end of your ruler to draw a line from each dot that is exactly perpendicular to each chord. Voilà! The place where the three lines intersect is the centre of the circle!
Level Up – Options for Older Kids:
Geometry fun! Below are a few maths problems you can try to solve using your penny spinner. Just imagine how happy your teacher will be to hear that you did extra maths projects just for the fun of it!
- Take your penny out of the spinner and lay the plate down flat. Take your ruler and place it at the centre of your penny spinner. This represents the widest part of the circle, otherwise known as the diameter. Measure and record the diameter of your penny spinner.
- Half of the diameter is called the radius. To calculate the radius, measure the diameter and divide that number by two.
- Now comes the really fun part: You can calculate the circumference of (or distance around) your penny spinner by using the formula C = d π. (Pi, represented by the Greek letter π, is a constant, meaning it is always the same. For the circumference calculation, use 3.14 for π.) Feel free to use a calculator to solve that if you haven’t practiced multiplying decimals!
- So, if the diameter of your circle is 20 cm, your circumference is 20 x 3.14, or 62.8 cm.
Test your maths by measuring the circumference the old-fashioned way. Carefully place a piece of string around the outer edge of the circle. Straighten out the string and measure it with a ruler. Is it about the same distance as the calculation you did above?
Standards Alignment:
Common Core Maths Standards
- CCSS.MATHS.CONTENT.4.G.A.1: Draw and identify lines and angles, and classify shapes by properties of their lines and angles. Draw points, lines, line segments, rays, angles (right, acute, obtuse), and perpendicular and parallel lines. Identify these in two-dimensional figures.
- CCSS.MATHS.CONTENT.7.G.B.4: Solve real-life and mathematical problems involving angle measure, area, surface area, and volume. Know the formulas for the area and circumference of a circle and use them to solve problems; give an informal derivation of the relationship between the circumference and area of a circle.