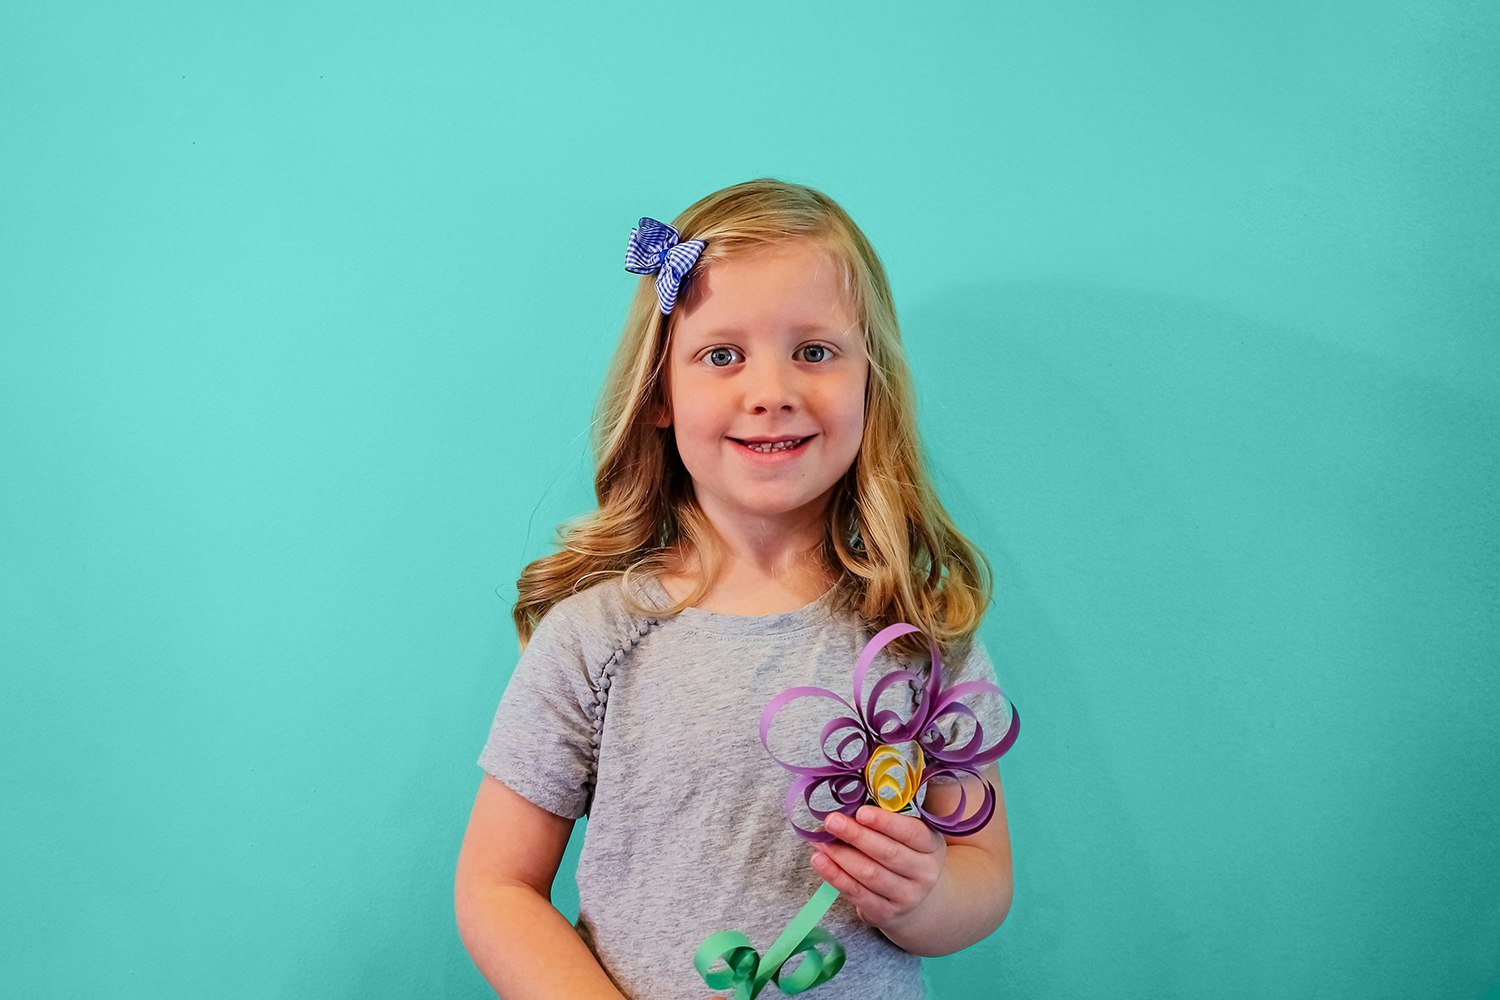
Rolled Paper Flowers
Rolled Paper Flowers
This easy and adorable craft can be done with only three simple items. Make a single flower or an entire bouquet! It’s up to you!
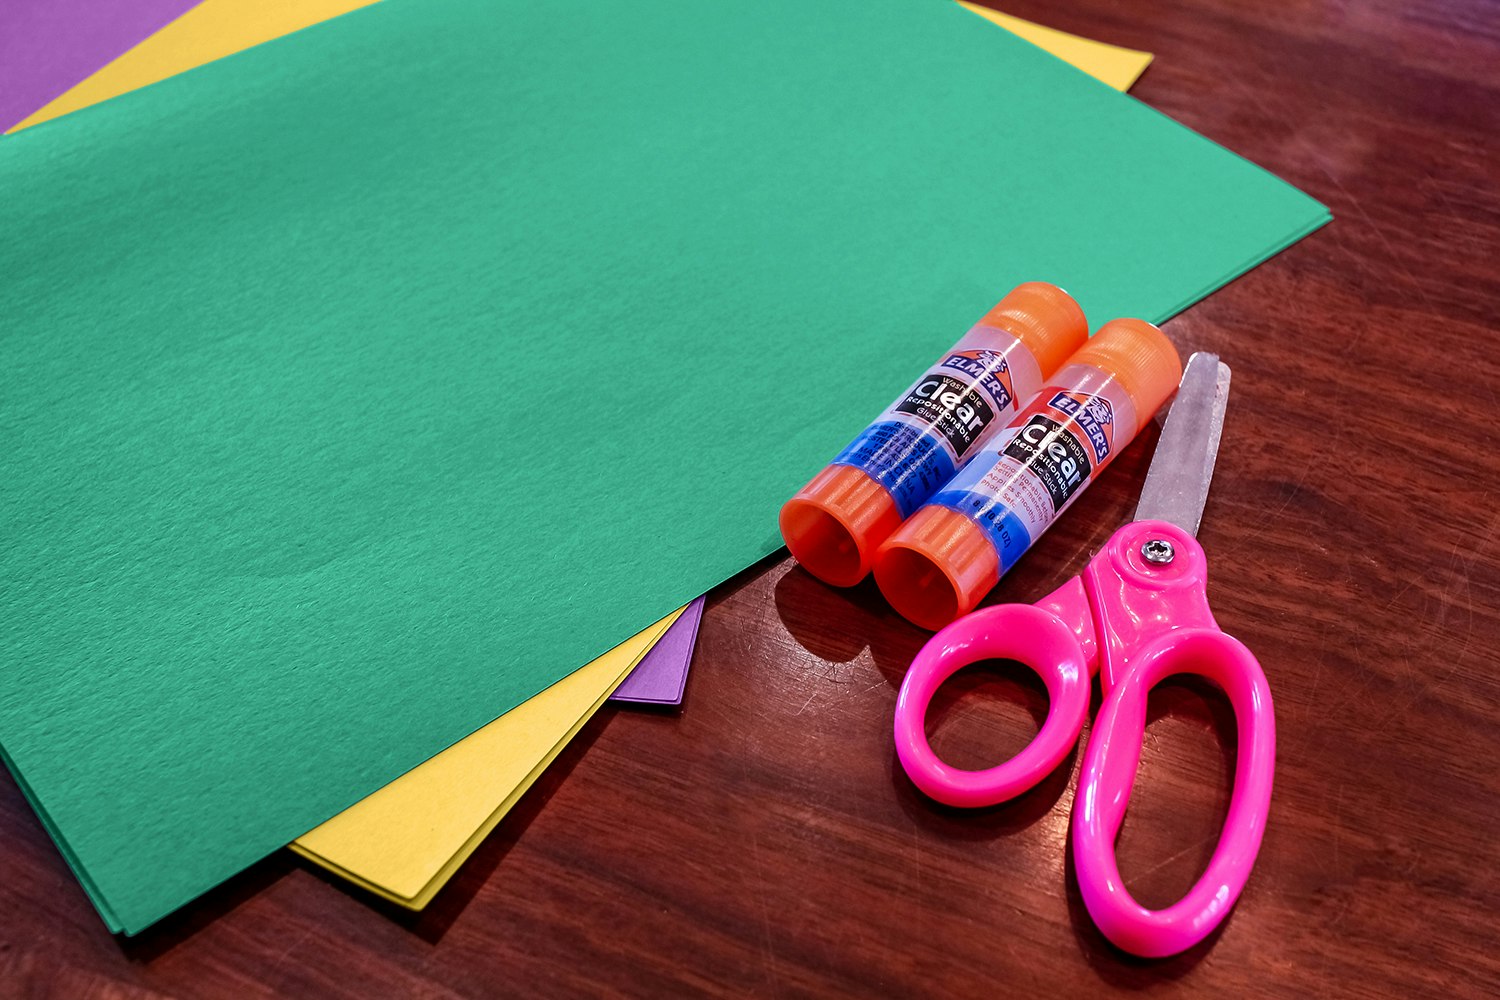
Supplies
- Elmer’s Clear Liquid School Glue (recommended), but any Elmer’s School Glue (liquid or stick) should work
- Scissors
- 3 sheets of paper (construction, card stock, or copy paper)
NOTE: We recommend one sheet of green for the stem, purple for the flower petals, and yellow for the centre, but feel free to let your imagination run wild and use different colours!
Directions
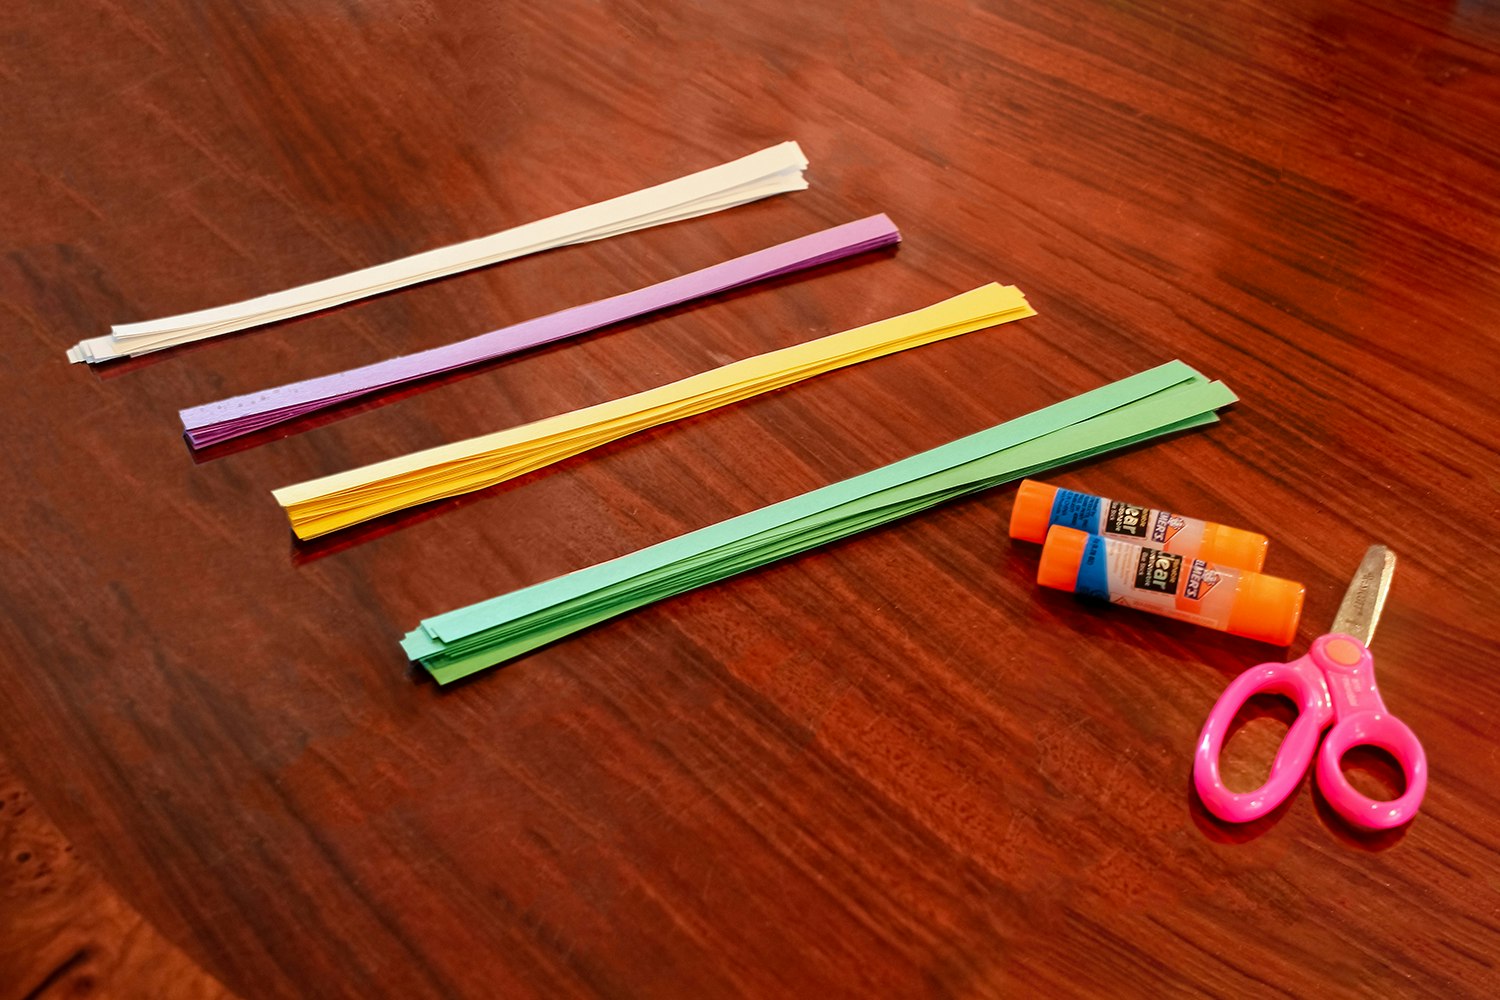
Cut each of your coloured paper sheets into approximately 2-cm strips. Designate one colour for stems, one for petals and one for the centre of the flower. You’ll need approximately 5–7 strips for your petals, 1 for your centre, and 3 for the stem.
Starting with your petals, roll each strip and secure the end with a bead of glue. Pinch the glued spot between your fingers for about 30 seconds, until secure. Don’t worry about making the curls all the same size. Do the same with the centre.
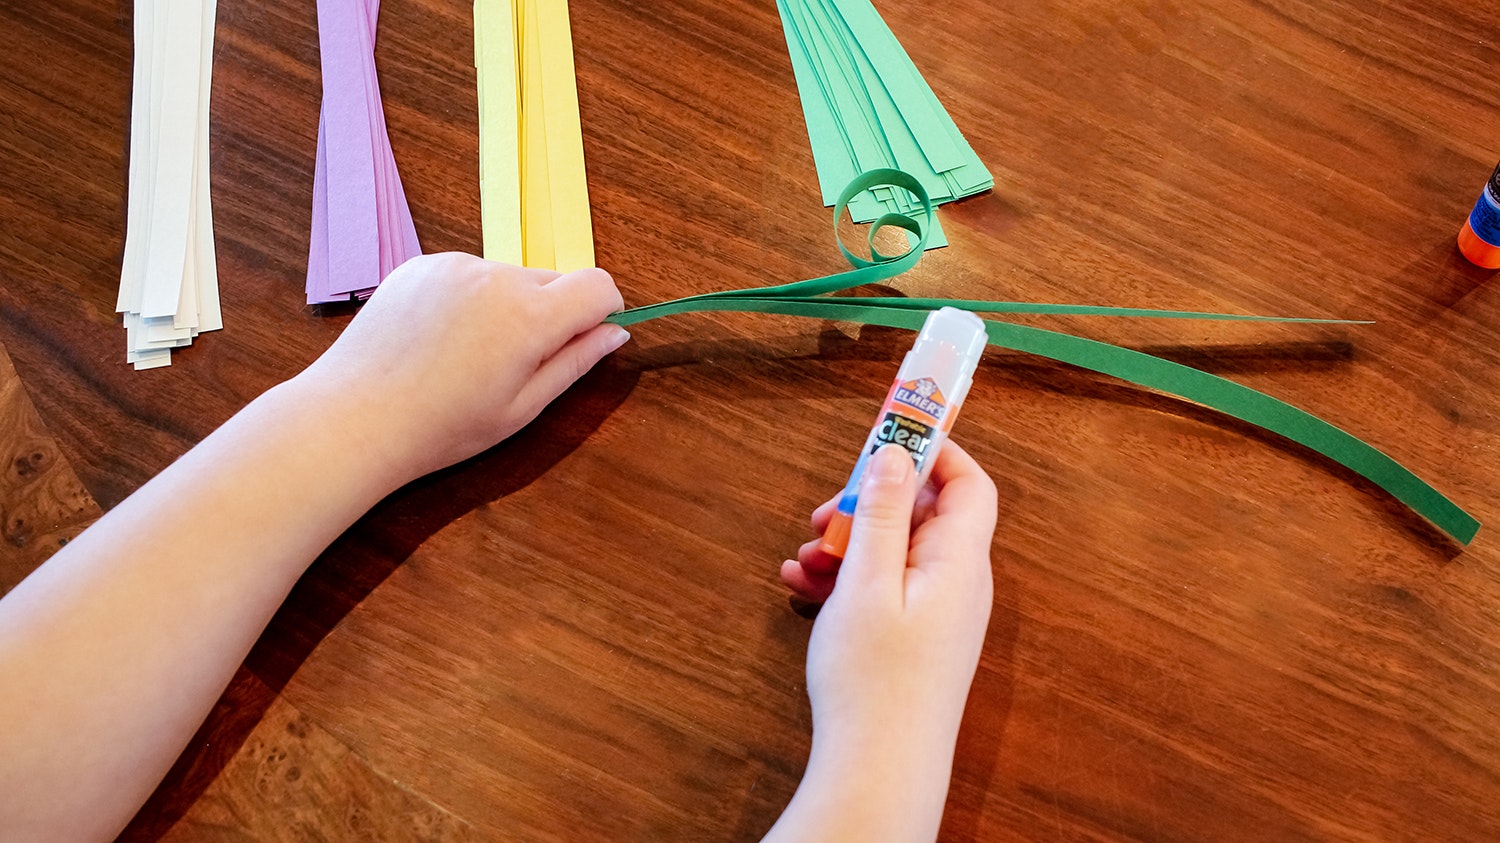
For the stem, partially curl two of your strips. They do not need to be perfect circles like the last step. Leave the last of the three strips uncurled.
When your curls are finished, lay them out in the shape of a flower. The centre of the flower should be a circle, with the petals surrounding it. The uncurled stem should be coming out of the bottom. Attach the other two stem curls to its bottom.
Start gluing the different strips together. Take the time again to pinch the two pieces together until the glue sets.
Enjoy your beautiful flower! Make some more for a full bouquet.