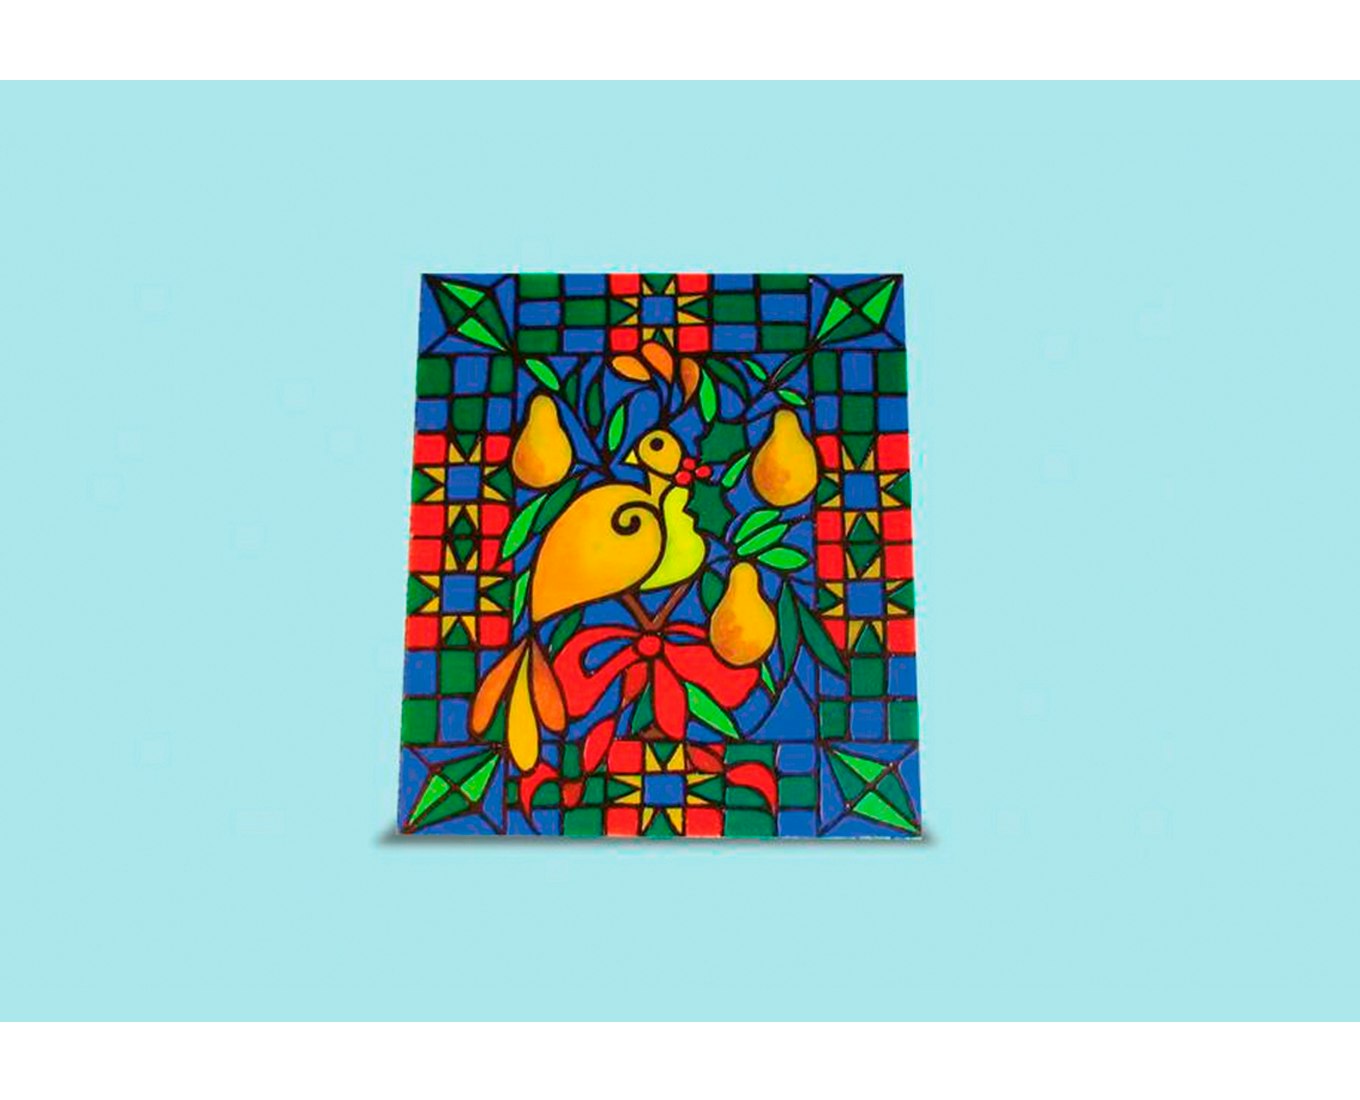
Faux Stained-Glass Tutorial
Faux Stained-Glass Tutorial
Supplies Needed
- Elmer’s Washable No-Run School Glue
- Elmer’s Washable Clear School Glue
- Painters Marker – Medium Tip Black
- Sheet of glass (from thrift store frame)
- Acrylic paints
- Craft blade
- Paint brush
Instructions
-
Remove glass from picture frame and place over your pattern.
-
Add about 1 tsp of black acrylic paint to the Elmer’s school glue and mix with a skewer in the glue bottle. Place cap back on the glue. Use the glue bottle to add black “leading” following the lines of your pattern. Allow to dry overnight.
-
Use your craft blade to neaten up any lines.
-
Mix your colours one at a time. Mix about 3 tablespoons of clear glue with a few drops of acrylic paint. Add a heavy amount of the paint, being sure to go all the way to the leading. Even overlapping a bit is fine. Leave the project to dry for several hours.
-
Use your black Painters Marker to touch up the leading where the paint has overlapped.
This project was submitted by Suzy M. To see full project instructions and more pictures, please visit http://suzyssitcom.com/2011/01/feature-friday-faux-stained-glass.html