Craft-Stick Picture Frames Tutorial
Craft-Stick Picture Frames Tutorial
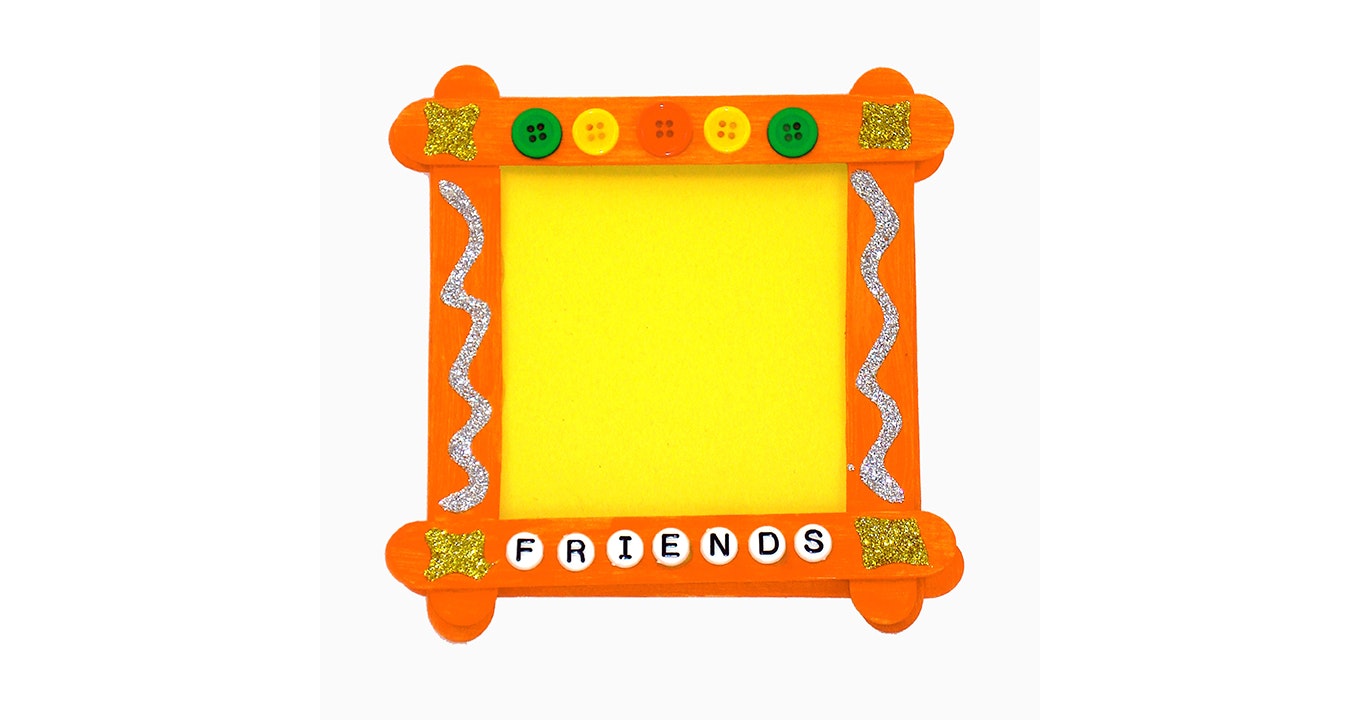
Craft a colourful picture frame from ice lolly or craft sticks!
supplies needed
- Elmer’s Glue-All™
- Elmer’s 3D Washable Paint Pens™
- Craft stick (or recycle an ice lolly stick if you can!)
- Beads
- Buttons
- Scissors
- Ruler
- Paint
tips:
- Have students do all of the measuring for this activity. Ask students to first measure the picture frame in inches. Then, have students measure the picture frame in centimetres. Discuss the difference between the two measurements. Encourage students to measure other items in the classroom. Ask them to estimate the measurement of an item, and then measure it to find out if they were correct.
- Ask students to write captions to accompany their photographs or pictures. The caption should describe what is happening in the picture in one or two sentences. Encourage students to include a lot of descriptive words in their writing.
- Encourage students to create the craft-stick picture frame as a gift for someone special. Instead of a photograph or picture, have students write a four-line poem to include inside the picture frame.
instructions
Glue four craft/ice lolly sticks together to form a square.
Repeat step one to make a second square.
Let the glue dry completely.
Paint both squares. Let the paint dry completely.
Decorate the squares using Elmer’s 3D Washable Paint Pens™. Glue on buttons and beads. Let the paint and the glue dry completely.
Glue the two squares together back to back.
Measure your favourite photograph or picture with a ruler. Then, measure the picture frame. Use a pair of scissors to trim the photograph to fit inside the picture frame.
Insert the photograph or picture, stand back, and admire your craft-stick picture frame!
3+
glueStickAll
popsicleSticks
everydayCrafts
Summer